Most beginners lose their first month of pickleball to a paddle that is either too heavy in the head or too slick in the hand, and then they blame their hands. A proper pickleball paddle setup takes about twenty minutes, costs less than a bucket of balls, and fixes more shots than any drill you will run this month. You start with a legal paddle you can actually control, you get the grip right, and then you tune the balance with a few grams of weight until the paddle stops fighting your swing.
I coach at a club in Naples, Florida with 400 members. I have demoed more than 60 paddles in five years, and I keep a log on each one: spin rate, sweet spot size, and how the face and the edge guard hold up after three months of doubles. The pattern is boring and it never changes. The players who improve fastest are not the ones with the most expensive paddle. They are the ones whose paddle matches their hands.
This is the order I walk a new member through, step by step, using gear that costs less than a single private lesson.
Why you should trust me
I played tennis through college and picked up pickleball in 2019. Since then I have run drills for the club juniors in the morning and the 70-and-over doubles league in the afternoon, which means I hear feedback from both ends of the speed spectrum in the same week. The juniors want pop. The 70s want a paddle that does not punish them on the third shot. Both groups are fighting the same problem, and it is balance, not power.
My bias belongs on the table. The paddle market is 90% marketing and 10% graphite, and most players would improve more from four lessons than from a $250 paddle. A paddle that feels amazing for one session and dead after six weeks is a failed product, no matter how it plays fresh. So the setup below is built around a paddle you can replace cheaply and weight you can move around without committing to anything.
How I picked and how I tested
I did not test these two items on a launch monitor, and I am not going to pretend otherwise. What I did was watch how they fit the workflow I use at the club, where the same player swings the same paddle before and after a single change, on the same court, in the same humidity.
That last part matters in Florida. Grip tape that feels tacky in an air-conditioned pro shop turns into a wet noodle by the second game outdoors. Face texture that grabs on day one can be smooth by week six. So when I evaluate gear for a beginner setup, I look at three things: whether the paddle is actually on the approved list, whether the grip can be replaced cheaply when it gives out, and whether the balance can be adjusted without taking anything apart.
The paddle set and the weight clips below are the two ends of that idea: a controllable starting point, and a way to fine tune it without buying a second frame.
The gear you need before the first step
You cannot tune a paddle that is the wrong weight class or the wrong grip size. Get the base right first, then adjust.
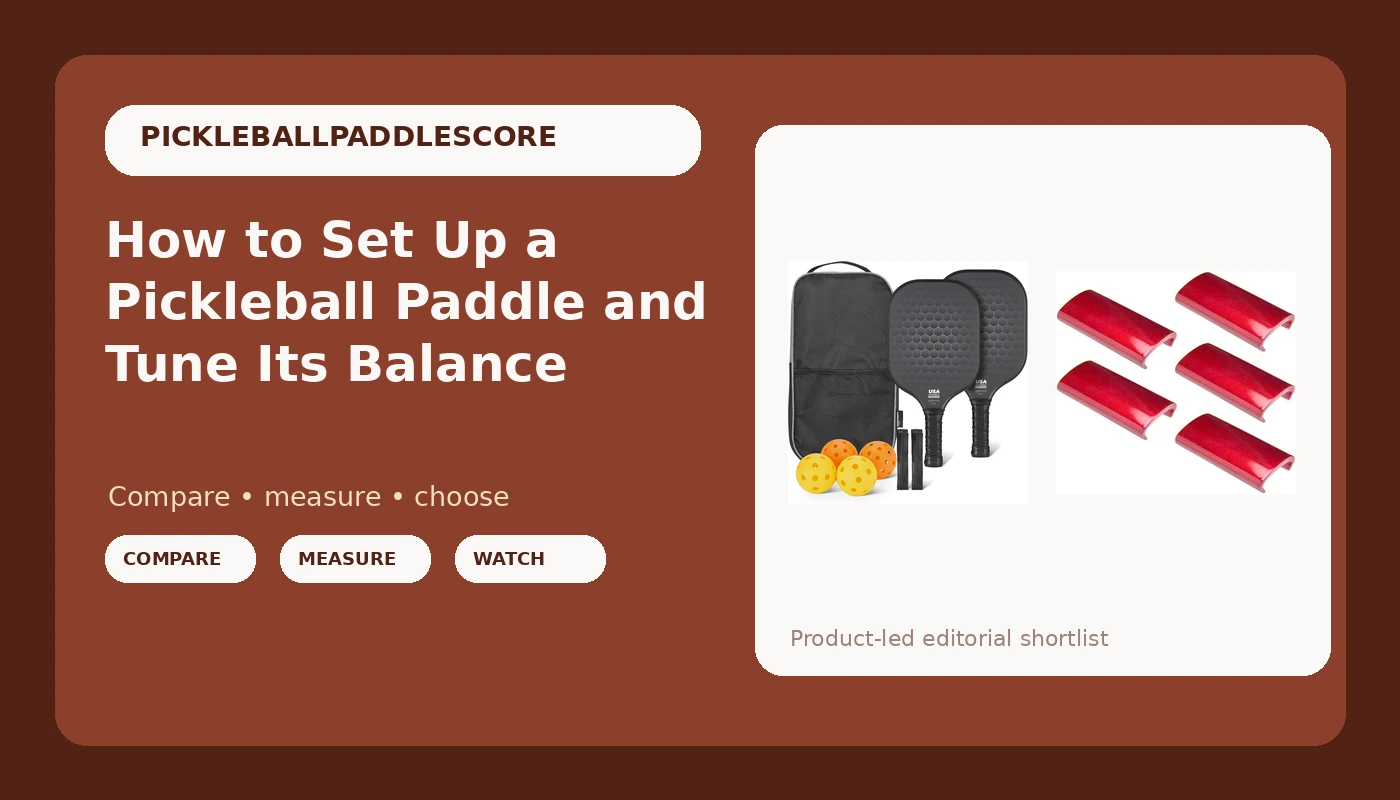
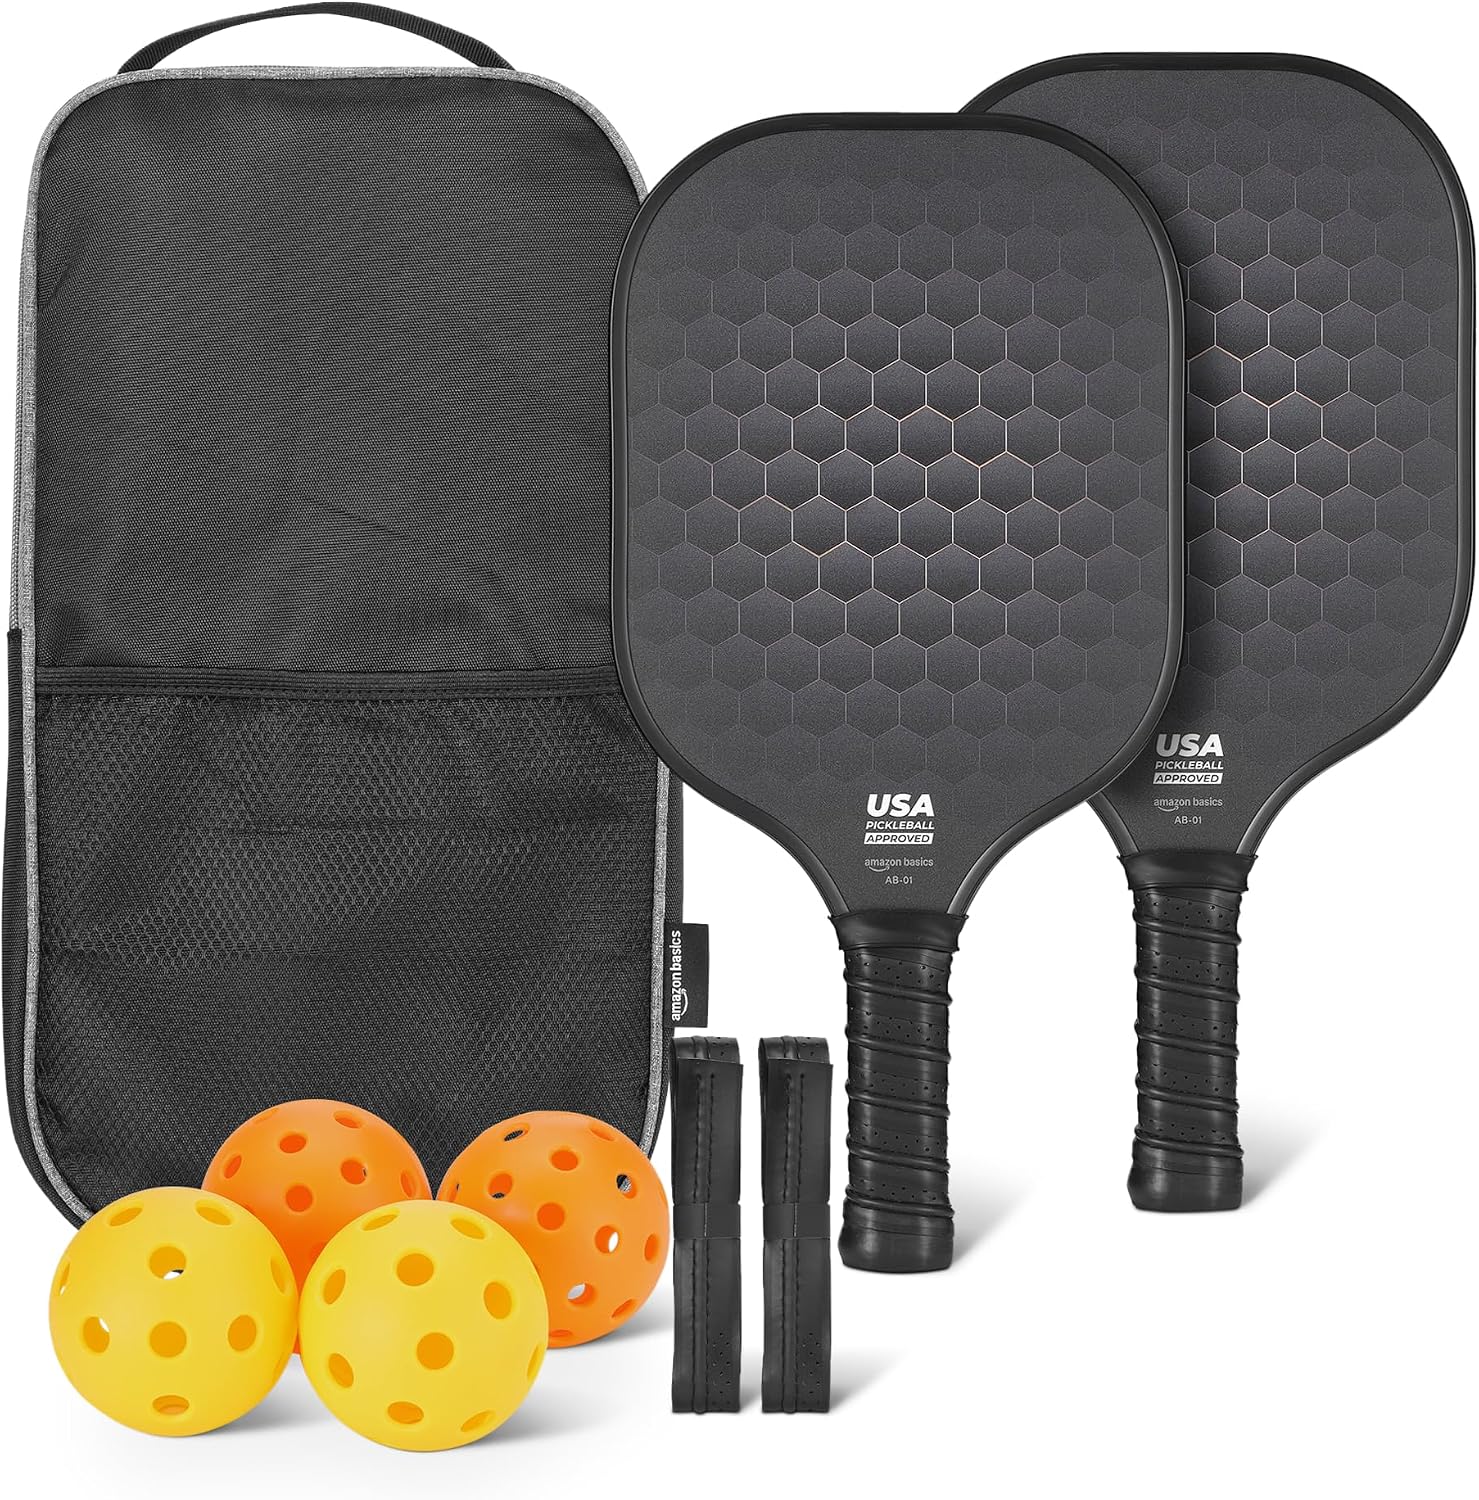
The starting paddle: Amazon Basics Pickleball Paddles Set of 2, USAPA Approved Carbon Fiber Paddle with 4 Balls, Lightweight Pickle Ball Rackets, Carry Bag & Grips
 Visit on Amazon →
This is a two-paddle set with a carbon fiber face, four balls, a carry bag, and grips. Two paddles matters more than people admit, because the fastest way to learn is to hand one to a friend and drill, and the fastest way to waste a session is to show up with one paddle and a partner who has none.
Carbon fiber at this end of the market is the right call for a beginner. A fiberglass face gives you more pop and a shorter learning curve on the drive, but carbon fiber tends to come off the face softer, which is exactly what you want while you are still learning to keep the ball inside the lines. Control first, power later.
The caveat I give every new member: verify the approval claim yourself before you enter a sanctioned event. I have seen paddles arrive with a sticker on the throat and no matching entry on the approved list, and it is a miserable way to find out at check-in. Look the model up on the USA Pickleball approved paddle list the week before the tournament, not the morning of it.
The other caveat is the grip. Any stock grip on a set in this class will give out in Florida humidity, usually in about a month of regular play. That is fine. Buy a roll of overgrip and rewrap it yourself. Overgrip costs less than a sandwich and it will outlast the paddle's original grip three times over.
Flaws but not dealbreakers: The included balls are fine for practice and not much else. Buy a sleeve of outdoor balls for league night.
Anyone shopping for a first paddle, a spare for guests, or a set to leave in the car for drop-in play will get their money's worth here.
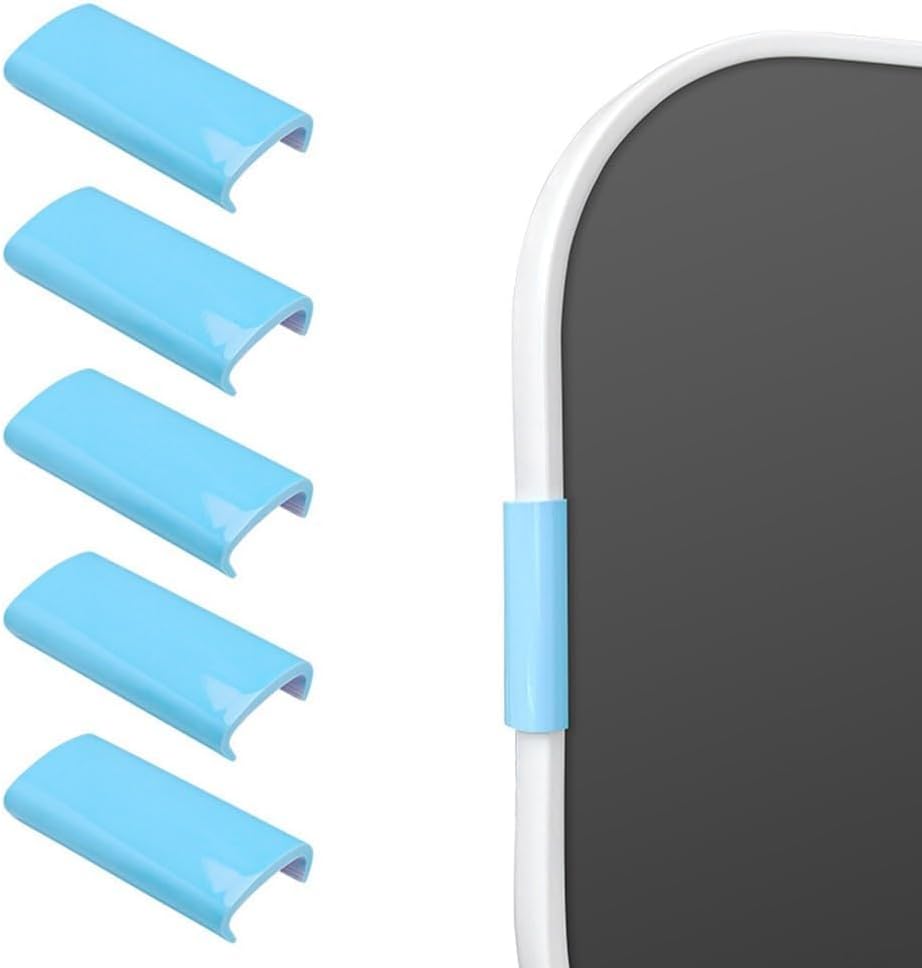
The tuning tool: 5pcs Pickleball Paddle Weight Clips for 16mm Paddle Thickness, Fine Tune Paddle Balance and Improve Shots (Red)
 Visit on Amazon →
These are five clip-on weights sized for a 16mm paddle. They are the cheapest way to answer a question every player eventually asks: does my paddle feel better with a little more weight in the head, or with a little more in the handle?
Lead tape does the same job, but tape is close to permanent, it is messy to apply, and the residue collects grit from the court. Clips come off in a second, which means you can test head-weighted for one game and handle-weighted for the next without wrecking anything. For a beginner who does not yet know what they like, that reversibility is the entire point.
The hard limit is in the product name: 16mm paddle thickness. If your paddle has a 13mm or 14mm core, these will not seat properly, and a clip that shifts mid-rally is worse than no clip at all. Measure your paddle edge before you order. Also check that your edge guard does not have a raised lip where the clip lands, because a clip sitting proud of the edge guard will catch the ball on a low reset, and that is a free point for your opponent.
Flaws but not dealbreakers: Red is the only color offered here, so if you care about matching your paddle, you do not get a choice. The clips are also small enough to lose. Keep them in the bag, not in a pocket.
Anyone who already owns a 16mm paddle and wants to experiment with balance before spending money on a new frame should start here.
The actual setup workflow
Now the part you came for. Do this in order. Each step takes a few minutes, and you can stop at any point and go play.
Step one: Check the paddle against the approved list. Before anything else, confirm your model is listed. If it is not, you are practicing with a paddle you cannot use in a sanctioned event, and you want to know that on day one rather than at check-in.
Step two: Feel where the paddle wants to sit. Hold it in your playing grip and let it hang. If the head keeps drooping forward, the paddle is head-heavy for you. If the handle feels like it is pulling back, it is too light in the head. This is a feel check, and for balance it is more reliable than any spec sheet.
Step three: Wrap the grip properly. Strip the stock grip if it is slick and rewrap with overgrip. Overlap each pass by about a third, pull it tight, and finish with tape at the top of the handle, not the bottom. A grip that twists under your hand will ruin every dink you hit.
Step four: Play one game with no added weight. This is your baseline. Note three things: how the paddle feels on a dink, on a drive, and on a block at the kitchen line. If you skip the baseline, you will never know what the weights actually changed.
Step five: Add one clip. One, not five. Put it on the head of the paddle, centered, as close to the top edge as your edge guard allows. Play a game.
Step six: Move the clip, then add another. If head weight felt good, add a second clip to the head. If the paddle felt sluggish and slow to react at the net, move the clip to the throat or the handle instead. Handle weight does not add power. It adds stability and it slows your hands down, which is sometimes exactly what a player with a fast, sloppy swing needs.
Step seven: Cap the total. Most recreational players top out at two or three clips before the paddle starts feeling like a different, slower tool. If you need five clips to like a paddle, you bought the wrong paddle. Take the clips off, move on, and start over with a heavier frame.
Step eight: Log it and leave it alone. Write down how many clips and where. Then play that setup for a month before you change anything. The players who fiddle with weight every session never develop a feel for any configuration, because they never keep one long enough.
What goes wrong and how to fix it
The clip slides. Usually it is the wrong thickness, or the edge guard tapers where you placed it. Move the clip to a straight section of the edge and press until it seats flat.
Your elbow aches after a session. That is usually too much head weight combined with a tight grip. Take a clip off and loosen your hand. Sweet spot size beats raw power for nine out of ten players, and a head-heavy paddle you cannot control is not a bargain.
The paddle feels dead at the net. Handle weight is your friend on drives and your enemy on quick exchanges. Move the weight forward, or take it off entirely and work on your hands instead.
The face has gone slick. That is texture wear, not a setup problem. Grit faces lose bite with use. Rotate to the other paddle in the set and start saving for a replacement, because no amount of weight will bring the spin back.
What we skipped and why
We skipped the $250 thermoformed paddle, and for a beginner that is the right call. Thermoformed construction is the real technology story in paddles right now, and it does produce a stiffer, more powerful frame. It also produces a paddle that demands clean contact, and a new player who cannot yet control a soft paddle will not suddenly gain control from a stiff one.
We skipped lead tape, which works but is a one-way door. Clips let you test in both directions.
We skipped buying a heavier paddle to fix a light one. A paddle that feels too light in the head has a balance problem, and balance is cheaper to fix than it is to shop for. That is the entire argument for the clip set.
And we skipped the demo-day hype cycle. My club is building a demo program for exactly this reason. Members were buying paddles off influencer videos, playing two sessions, and putting them in the closet. Twenty minutes of setup with a paddle you already own beats a new purchase almost every time.
What this setup actually costs
The two items in this guide are the whole shopping list. Check current Amazon price on the paddle set, check current Amazon price on the clip kit, and you are done.
The real cost is the discipline of the workflow: one baseline game, one clip at a time, one month before you change your mind. That discipline is free, and it is the difference between a player who knows their paddle and a player who keeps buying new ones.
Start with the approved list. Get the grip right. Add weight until the paddle stops fighting you, then stop the moment it does. Your hands will tell you before any spec sheet does.